
Water damage can be overwhelming, but understanding the water restoration process can make it easier to navigate. Whether it’s from a burst pipe, flooding, or a leaky roof, knowing what to expect can help you take control of the situation. Not sure what to expect? Is this something you can DIY? So, let’s walk through the water restoration process step by step, so you can feel confident if you ever need it.
1. Assessment: Figuring Out What We're Dealing With

The first step in any water restoration process is a thorough inspection. Professionals will assess the source of the water and the extent of the damage. Not all water is the same — depending on whether it’s clean water, gray water (like from a washing machine), or black water (contaminated, such as from sewage), the approach will vary. It’s also crucial to figure out how far the water has spread, because water can seep into walls, floors, and even ceiling tiles without being visible right away.
2. Water Removal: Time to Dry Out
Once the situation is assessed, the next step is to remove as much water as possible — and quickly! With our team on call 24/7, getting ahold of us won't be an issue. The longer water sits, the more damage it can do. Water removal usually involves powerful

pumps and vacuums to extract water from the affected area. Depending on how much water there is, this step can take a couple of hours to a few days. But don't worry, we'll be there every step of the way.
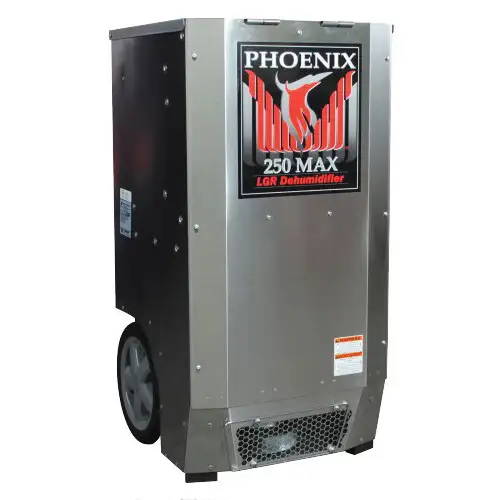
3. Drying and Dehumidifying: Getting Rid of the Moisture
Even after the visible water is removed, moisture remains hidden in materials like drywall and flooring. This is where drying and dehumidification come into play. We use high-powered air movers and dehumidifiers that are used to dry out these materials and prevent mold growth, which can become a major problem if moisture is left behind.
This phase of the process can take a few days, but it’s critical for ensuring the structure of your facility remains sound and free from long-term damage.


4. Cleaning and Sanitizing: Making Sure It’s Safe
Water, especially from contaminated sources, can leave behind harmful bacteria, dirt, and debris. That’s why the next step in the process is to clean and sanitize affected areas thoroughly. This involves disinfecting any surfaces that came into contact with the water and possibly removing damaged materials that can’t be salvaged. Office equipment, furnishings, and important documents may also need to be cleaned or restored, depending on the extent of the damage.
5. Restoration: Getting Everything Back to Normal
The final step is restoring your building to its pre-damage condition. Luckily we're quick enough to not need to repair extensive damage, but in the event of catastrophic

damage we have a long list of trusted contractors to help rebuild. This could be as simple as replacing a few pieces of drywall or as complex as reconstructing entire sections of the facility. The goal is to make it look like the water damage never happened. Restoration can take time, but it’s worth it to have your building back in shape.
Final Thoughts: Staying Prepared
Water damage is stressful, but understanding the water restoration process can make it a little less daunting. The key is acting quickly, contacting professionals early, and knowing what to expect during each phase of the restoration.
Whether you’re dealing with a minor leak or major flooding, knowing these steps will help you feel more in control and better prepared for the process ahead.
Comments